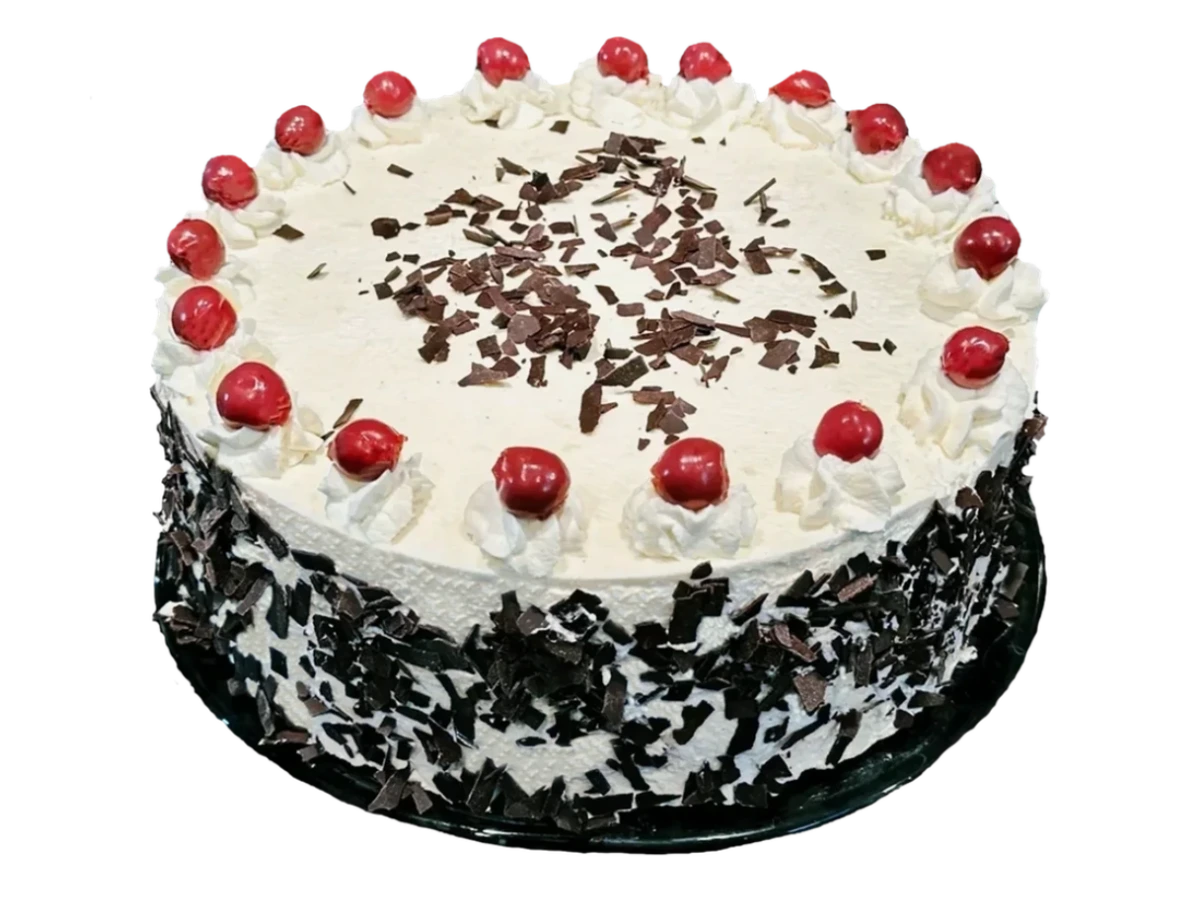
This Black Forest Cake features a light and airy chocolate sponge, a fruity cherry layer, and a finely balanced combination of whipped cream and kirsch. It is made without a shortcrust base and retains its classic layered structure.
Print recipe
Save on Pinterest
Servings: 18
Nutrition Facts
German Black Forest Cake Recipe
Serving Size
1 Slice
Amount per Serving
Calories
719
% Daily Value*
Fat
47.7
g
73
%
Saturated Fat
33.7
g
211
%
Sodium
133
mg
6
%
Carbohydrates
55
g
18
%
Fiber
2.6
g
11
%
Sugar
34.1
g
38
%
Protein
9.1
g
18
%
* Percent Daily Values are based on a 2000 calorie diet.
Already tried this recipe?Thank you for your rating.
Equipment
- Electric hand mixer
- Springform pan (30 cm / 12-inch diameter)
- Silicone scraper (about 30 cm / 12 inches long)
- Stainless steel cake lifter (about 28 cm / 11 inches wide)
- Digital kitchen scale (with tare function, up to 5 kg / 11 lb capacity)
- 3 Offset spatulas (stainless steel)
- Piping bag set (piping bag with stainless steel tips)
- Cake leveler (stainless steel, about 32 cm / 12.5 inches long, with serrated cutting wire)
- Whisk
- Cake ring (stainless steel, 10 cm / 4 inches high, for 30 cm / 12-inch cakes)
- Flour sifter or fine-mesh sieve (for flour, cornstarch and baking powder)
- Sieve for sour cherries
- Pastry brush
Ingredients
Chocolate sponge
- 8 Eggs
- 300 g Flour (about 2½ cups)
- 55 g Cocoa powder (about ⅔ cup)
- 80 g Cornstarch (about ⅔ cup)
- 220 g White sugar (about 1 cup plus 2 tbsp)
- 1 pinch Salt
- 2 tsp Baking powder
- 130 ml Warm water (about ½ cup)
Cherry filling
- 700 g Sour cherries, pitted (about 4½ cups; recommended: jarred sour cherries)
- 260 ml Cherry juice (from the jar, about 1 cup; preferably the juice from the jarred sour cherries)
- 2 tbsp White sugar
- 1 pinch Cinnamon
- 1.5 tbsp Cornstarch (measured as heaping tablespoons)
- 5 tbsp Kirsch (cherry brandy; 42 % vol)
Kirsch Soaking Mixture for the Sponge Layers
- 90 ml Cherry juice (preferably the reserved juice from the jarred sour cherries)
- 1.5 tbsp White sugar
- 8 tbsp Kirsch (cherry brandy; 42 % vol)
Cream Layers
- 2000 g Whipping cream (for a 10 cm/4-inch high cake ring; this amount is ideal for a 30 cm/12-inch sponge layer)
- 40 g Whipping cream stabilizer (Sahnesteif)
- 16 g Vanilla sugar
- 5 tbsp Kirsch (cherry brandy; 42% vol)
Decorations
- 600 g Whipping cream (about half for the outside layer and the other half for cream rosettes and decorations)
- 16 g Whipping cream stabilizer (Sahnesteif)
- 2 tbsp White sugar
- 3 tbsp Kirsch (cherry brandy; 42 % vol)
- 100 g Dark chocolate shavings
- 18 pieces Sour cherries reserved for decoration (well drained before placing on the cream rosettes)
Instructions
Chocolate sponge
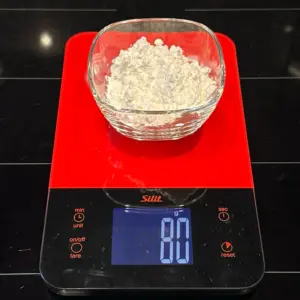
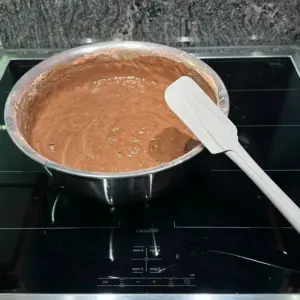
- Whisk the measured flour, cornstarch, cocoa powder, and baking powder in a bowl until well combined and lump-free.
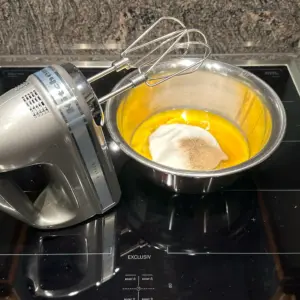
- Carefully separate the eggs. Yolks: In a large bowl, beat the yolks with 130 ml / about 1/2 cup warm water, 145 g sugar, and vanilla sugar for about 10 minutes, until pale and creamy. Whites: In a separate bowl, beat the egg whites with a pinch of salt, then gradually add the remaining 75 g sugar and beat until stiff, glossy peaks form.
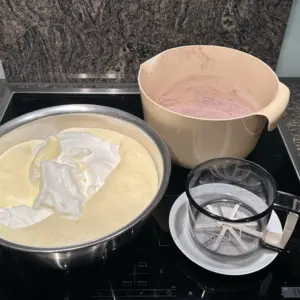
- Preheat the oven to 170°C / 340°F (conventional, non-fan oven). Gently fold the whipped egg whites into the yolk mixture until just combined. Sift in the dry ingredients in batches and fold in carefully with a spatula or whisk, keeping the batter light and airy.
- Line the base of the springform pan with parchment paper and secure the ring tightly. Pour in the batter and gently smooth the top with a spatula.

- Place the pan in the preheated oven and bake for about 36 minutes. The exact time can vary, so start checking from around 30 minutes: insert a wooden skewer (or the tip of a knife) into the center of the sponge, all the way down to the bottom. If it comes out clean, with no wet batter sticking to it (a few dry crumbs are fine), the sponge is done. Remove it from the oven.
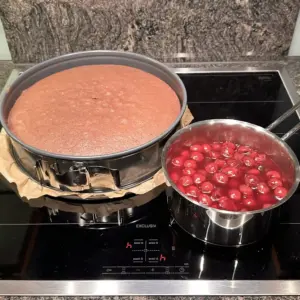
- While the sponge is still slightly warm, carefully remove the springform ring. Then let the sponge cool completely at room temperature. If it fits your schedule, you can bake it in the evening and leave it covered overnight. The sponge must be fully cooled before you continue with the recipe.
Cherry filling
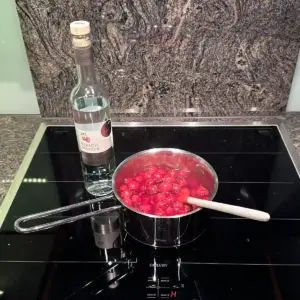
- Drain the sour cherries in a sieve until well drained. Set aside 18 of the nicest cherries for decorating later. Collect the drained cherry juice in a separate container. In a small bowl, whisk 30 ml of the cherry juice with 1½ tbsp cornstarch until completely smooth. Pour the remaining 230 ml cherry juice into a saucepan, add the cherries, 2 tbsp sugar, and a pinch of cinnamon, then whisk in the cornstarch mixture. Heat gently over medium heat, stirring constantly, until it comes to a slow boil and thickens. Remove from the heat, stir in the kirsch (cherry brandy), and let the cherry filling cool completely to room temperature.
Kirsch soaking mixture for the sponge layers
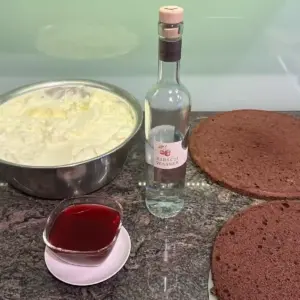
- Mix 90 ml cherry juice with the sugar and kirsch (cherry brandy), stirring until the sugar has completely dissolved. Set aside until the sponge layers are ready to be soaked.
Kirsch (Cherry Brandy) Whipped Cream
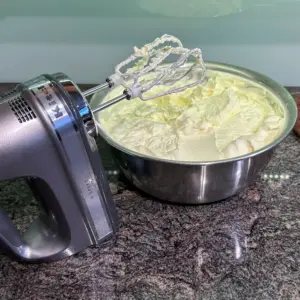
- Pour the very well-chilled whipping cream (2000 g) into a large mixing bowl. Start beating with an electric hand mixer until the cream is slightly thickened and soft peaks begin to form. Add the whipping cream stabilizer (Sahnesteif) and vanilla sugar, then continue beating. Shortly before the cream reaches the correct consistency, slowly pour in the kirsch (cherry brandy) while beating. Continue until the cream is firm enough to hold its shape, but stop as soon as it is firm to prevent it from becoming grainy.
Preparing the sponge layers
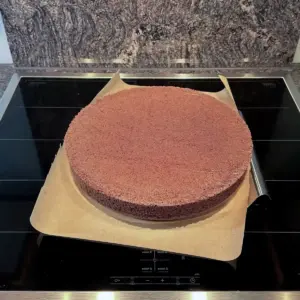
- First, place a piece of baking parchment on your cake lifter. Set the cake lifter with the parchment onto the surface of the fully cooled sponge, then carefully flip the sponge over—keeping the pan base attached if it is still sticking. Next, gently remove the pan base and carefully peel the parchment off the bottom of the sponge (the result should match the photo). Flip the sponge back over and place it directly on your work surface. Now you’re ready to split the sponge.
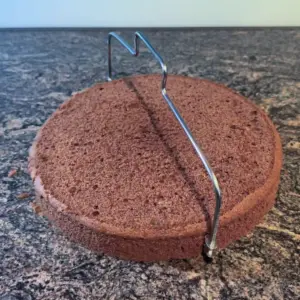
- Adjust the cake leveler so the lower cutting wire just removes the slight dome that formed during baking. Then set the cutting wires so you can divide the sponge into three evenly thick layers. The top layer will later be turned upside down and used as the top of the cake—this gives you a particularly clean, even edge.
Assembling the cake
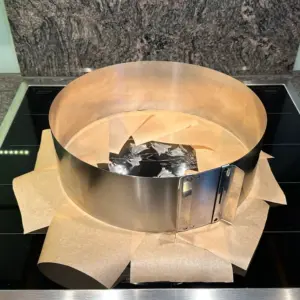
- Place the cake ring on your prepared cake plate and adjust it to the desired diameter (30 cm / about 12 in for this recipe). Tip: Cut rectangular strips of parchment paper and place them—slightly overlapping—between the cake ring and the plate. Once the cake is finished, you can carefully pull the strips out again, so the edge of the cake plate stays clean.
- Place the bottom sponge layer inside the cake ring. Make sure it sits neatly against the ring and the parchment strips. Brush the sponge evenly with the kirsch soaking syrup (cherry juice and kirsch / cherry brandy). Spread the completely cooled cherry filling on top and gently smooth it into an even layer.
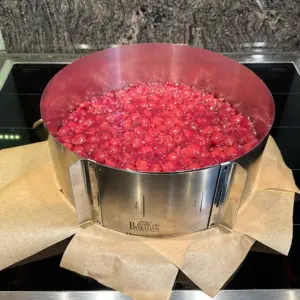
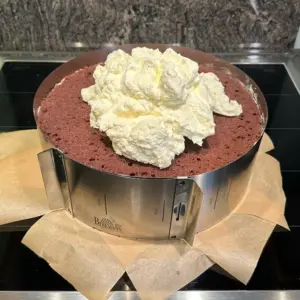
- Spoon about 800 g of the whipped cream onto the cherry layer and spread it into an even layer. Add the middle sponge layer, press it down gently, and brush it with more kirsch soaking syrup. Spoon another 800 g of whipped cream on top and spread it evenly. Place the top sponge layer on top, press down lightly, and brush again with the kirsch soaking syrup.
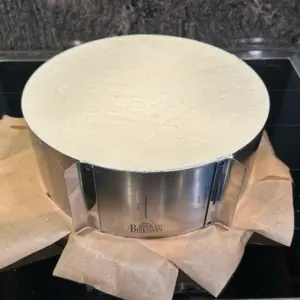
- Press the cake down gently, then add enough of the remaining whipped cream so the final cream layer is level with the top edge of the cake ring (10 cm / about 4 in high). Smooth this top layer as evenly as possible—the easiest way is to level it with an offset spatula. Chill the assembled Black Forest cake in the refrigerator for at least 2 hours, so it can rest and firm up.
Coating and decorating the cake
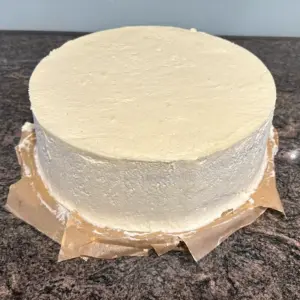
- Whip the 600 g whipping cream reserved for decorating. As with the larger batch, begin beating until the cream is slightly thickened and soft peaks start to form. Add 16 g whipping cream stabilizer and 2 tbsp sugar, then continue beating. Finally, slowly pour in 3 tbsp kirsch (cherry brandy) while beating, and whip until the cream is firm and holds its shape. Carefully remove the cake ring from the well-chilled cake without damaging the surface. For the outer coating, place about 300 g of the whipped cream in a bowl and use an offset spatula to spread a smooth, even layer around the cake. Take care that no cherry filling or crumbs get into the outer layer. The finished coating should form a neat, smooth cylinder.
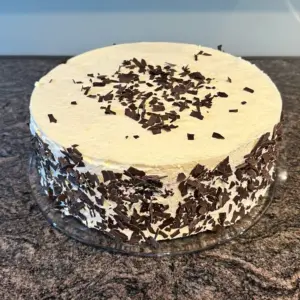
- Gently press the chocolate shavings onto the sides of the cake with your hands so they stick evenly and form a clean chocolate border. If you like, sprinkle a little extra chocolate over the center of the cake.
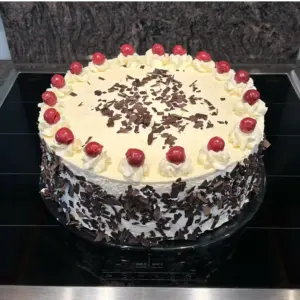
- Fill the remaining whipped cream into a piping bag and pipe 18 even swirls (rosettes) around the top. Try to keep the size and spacing as consistent as possible. Gently pat the reserved cherries dry with paper towels to remove excess juice, then place one cherry on top of each swirl. Finally, carefully pull out the parchment strips from under the cake. Your authentic Black Forest cake—made without a shortcrust pastry base—is now finished and ready to serve.
Notes
Before layering the cake, slide several slightly overlapping rectangles of parchment paper underneath the cake ring or the area where the edge of the cake will sit. They protect the cake plate while frosting the cake and pressing on the chocolate shavings. Carefully pull out the strips one at a time only after the cake has been fully decorated.
Already tried this recipe?Thank you for your rating.
Super leckeres Rezept für eine Schwarzwälder Kirschtorte! 🍒🍰 Die Torte ist schön saftig und die Kombination aus Schokolade, Kirschen und Sahne schmeckt einfach richtig gut. Das Rezept ist gut erklärt und lässt sich ohne Probleme nachbacken. Bei uns kam die Torte super an und ich werde sie auf jeden Fall wieder machen. ⭐⭐⭐⭐⭐